

Catalyzing Change with MaxPower’s Pioneering Solutions for a Sustainable Energy Future
December 6, 2023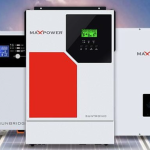
What is the Difference Between IP21 and IP65 Inverters?
December 4, 2024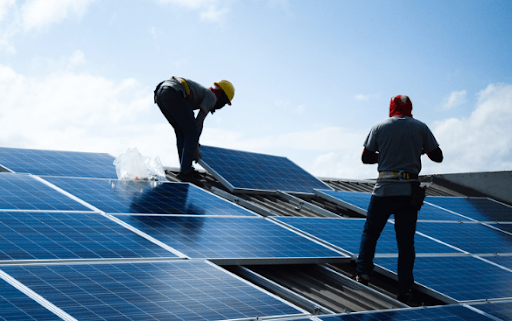
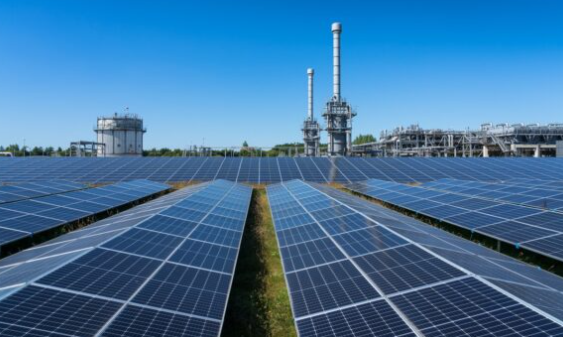
As solar energy continues to gain momentum as an eco-friendly and cost-effective power solution, understanding how solar panels are installed can be quite insightful, especially for homeowners considering this upgrade. Installing a solar system requires meticulous planning and expertise. This comprehensive guide will walk you through each step involved in installing solar panels, from initial assessment to final activation.
Solar Panel Installation Process
1. Initial Assessment and Planning
The first step in the solar panel installation process is a thorough site evaluation. A professional solar installer will visit your property to assess various factors such as:
- Roof orientation and tilt: A roof with a south-facing orientation is ideal for maximum solar exposure.
- Shading analysis: The installer will check for any trees or buildings that might cast shadows on the panels and reduce efficiency.
- Structural integrity: The roof must be strong enough to support the solar system’s weight.
Once the site has been evaluated, the installer will create a customised system design tailored to your energy needs. This design includes the number and type of panels, the max power solar inverters’ selection, and additional components.
2. Obtaining Permits and Approvals
Before the installation process can begin, obtaining the required permits and approvals is necessary. These vary depending on the location but may include:
- Building and electrical permits from local authorities
- Approval from utility companies to connect your solar system to the grid
The installer typically handles this step, completing and submitting all necessary paperwork. Depending on the local regulations, this stage may take a few weeks.
3. Ordering the Components
Once the permits are secured, the next step is to order the required components. This includes:
- Solar panels
- Solar inverter
- Mounting racks and brackets
- Wiring and cables
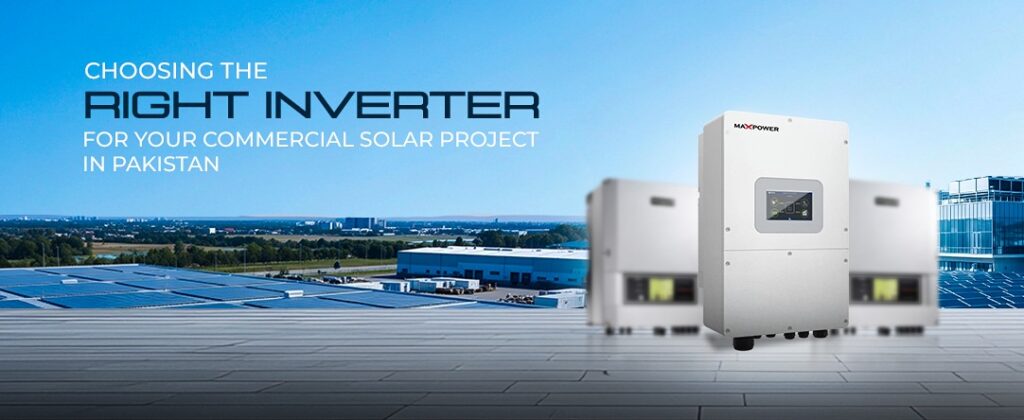
When selecting an inverter, opting for a reliable and efficient model is crucial. The max power solar inverter price in Pakistan varies based on capacity and features, so choosing one that aligns with your budget and power requirements is important.
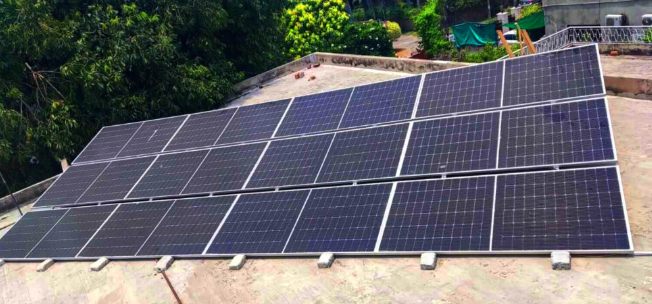
4. Mounting the Racks
With the components ready, the installation begins with mounting the racking system. The racks are the foundation that holds the panels in place. This step involves:
- Marking the roof according to the design plan
- Drilling holes and securing the racks with high-quality, weatherproof bolts
- Ensuring the racking system is at the optimal angle for sunlight exposure
The racking system must be installed carefully, as any misalignment can affect the panels’ efficiency and overall system performance.
5. Installing the Solar Panels
Once the racks are secure, the solar panels can be mounted. This step involves:
- Carefully placing the panels onto the racks
- Securing them with clamps or bolts
- Ensuring each panel is connected properly to form a string (a series of panels connected to create a unified array)
Each panel must be perfectly aligned for uniform power production and tightly secured to withstand strong winds and heavy rainfall.
6. Electrical Wiring
The next step is wiring the system. The wiring process requires precision, as any mistakes can compromise the safety and efficiency of the solar system. This stage includes:
- Running electrical wiring from the panels to the max power solar inverter
- Connecting the inverter to the electrical panel and battery bank if using a hybrid solar system
- Installing grounding wires to protect against electrical faults
A licensed electrician typically performs this step to ensure adherence to local electrical codes.
7. Installing the Inverter
The max power solar inverter is a crucial part of the system, converting the direct current (DC) produced by the solar panels into alternating current (AC), which is usable for home appliances. The installation process involves:
- Placing the inverter in a cool, shaded area for optimal performance
- Connecting the inverter to the main electrical panel and solar battery (if applicable)
- Configuring the inverter settings to match the specifications of your solar system
8. Connecting to the Grid or Battery Storage
Connecting to the battery storage is essential for those who choose a hybrid solar system. This allows excess energy generated during the day to be stored for nighttime or cloudy days. On the other hand, connecting to the grid involves:
- Coordinating with the local utility company to ensure the system is compatible
- Installing a net meter to track energy sent back to the grid for credit or compensation
9. System Testing
The installer will conduct tests once all components are connected to ensure the system functions properly. This includes:
- Verifying the electrical connections and confirming there are no faults
- Running the inverter to check its output and performance
- Monitoring the energy flow from the panels to the inverter and the main electrical panel
During this phase, the installer may also provide training on monitoring and maintaining the solar system, including tracking energy production through apps or inverters with built-in monitoring systems.
10. Activation and Final Inspection
The final step involves a comprehensive inspection by the local authority or a certified inspector to ensure the installation meets all safety and building codes. After receiving approval, the solar system is activated. The system may be monitored for a few days to ensure it works as expected.
Tips for Maintaining Your Solar Panels
Maintaining your solar panels ensures they function at peak efficiency. Here are a few maintenance tips:
- Regular Cleaning: Dust, bird droppings, and debris can accumulate on the panels, reducing efficiency. Clean the panels with water and a soft brush every few months, or hire a professional cleaning service.
- Routine Inspections: Have your system inspected annually by a qualified technician to check for potential issues, such as loose connections or damaged wiring.
- Monitoring System Performance: Use inverter apps or external monitoring tools to monitor your system’s performance and detect sudden drops in energy production.
The Importance of Choosing Quality Products
The success of your solar installation depends heavily on the quality of the components used. Opting for a max power solar inverter ensures high conversion efficiency and durability. Likewise, considering Pakistan’s maximum-power solar inverter price helps balance budget and performance. Quality inverters and components lead to long-term reliability and a greater return on investment.
Installing a solar system is a game-changer for sustainability and energy independence. From assessment to activation, every step is crucial for peak performance. Max Power offers expert service and top-quality products for a seamless installation. Our professionals ensure a hassle-free process, helping you switch to clean energy effortlessly.
Browse Max Power Solar Energies’ range of high-quality solar panels. Contact us for reliable installation and premium solar solutions tailored to your energy needs.